• Gallery
  • Plant Care
  • Blog
  • About
  • Contact
Pottershed
  • Gallery
  • Plant Care
  • Blog
  • About
  • Contact

Stones and glass houses

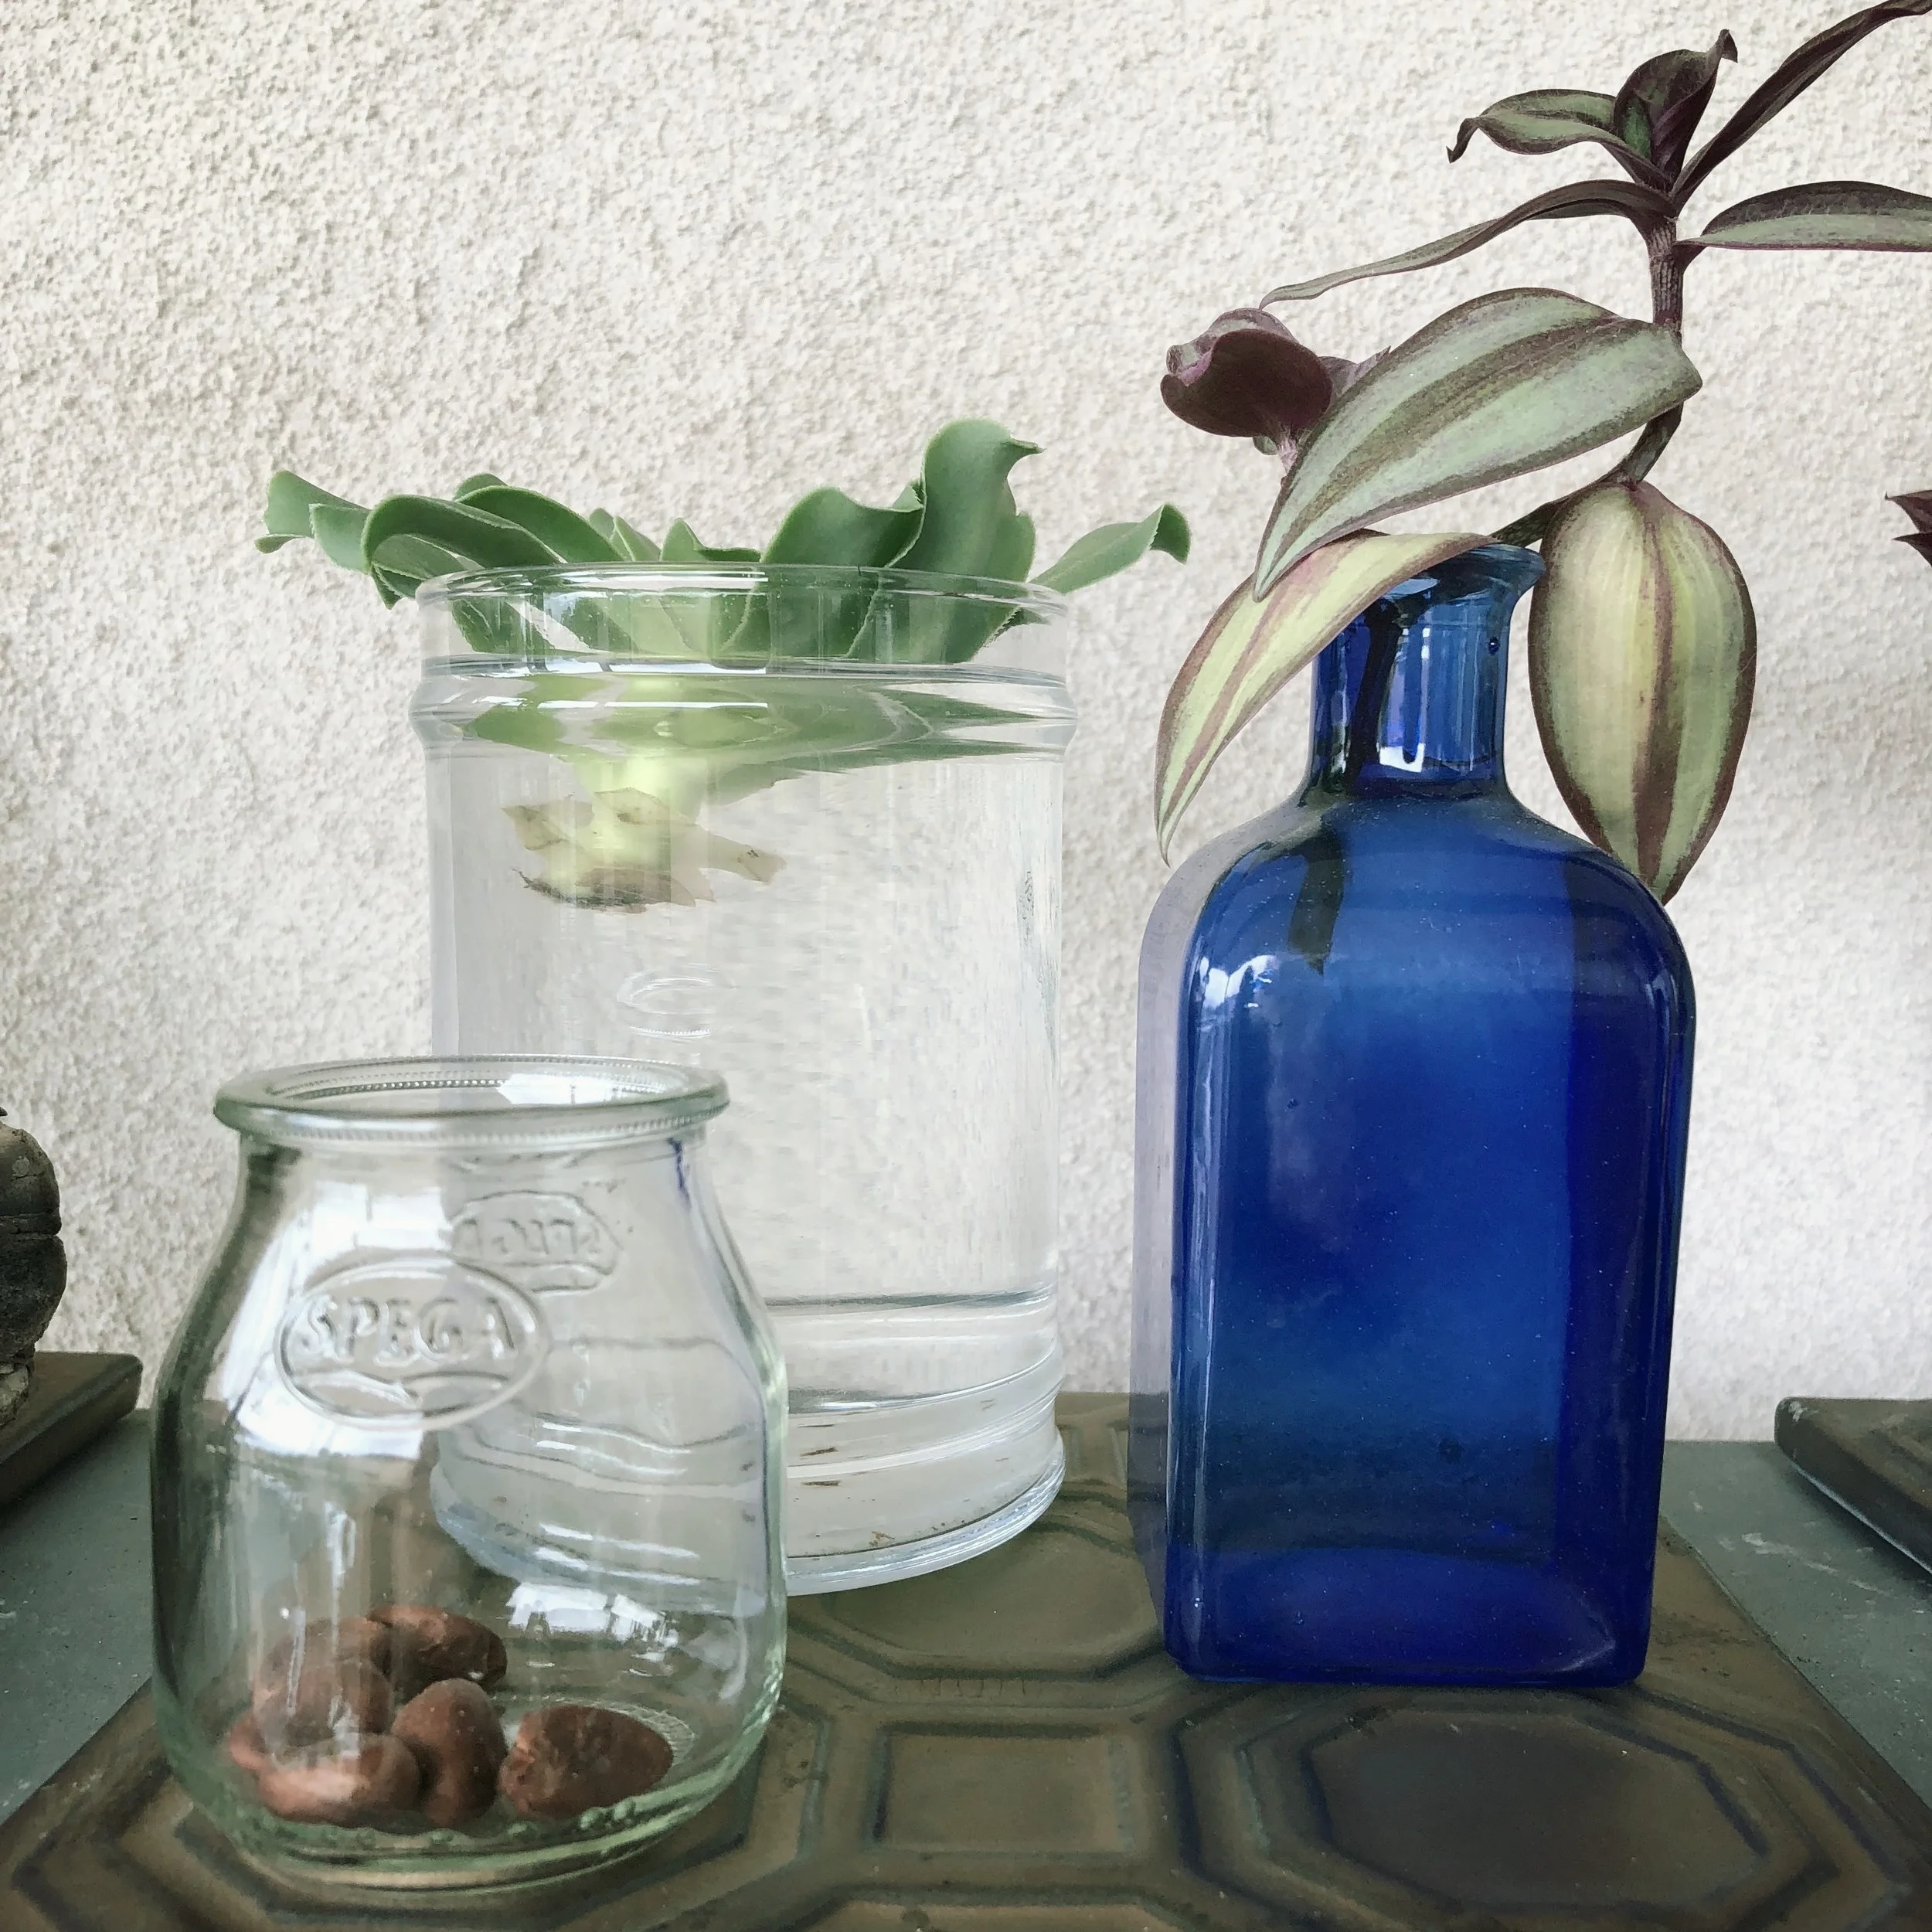
Planting in glass containers

Setting plants in glass containers is a clean look—if you can keep it clean that is. Containers without drainage holes are practical for indoor plants (think no overflow spills). However, without drainage, over-watering easily leads to root rot. And with glass containers, there's the extra threat that too much water in a sunny spot will breed algae in your container.

To setup a glass container for success, you'll need a few ingredients: pebbles, charcoal, and sphagnum moss.* This is the same technique you'd use to make a terrarium. With a clean, dry container, first add a layer of pebbles. Both polished or unpolished work fine. You're going to see them and there are a variety of colors and sizes available, so have fun picking your pebbles. You want clean ones though. Avoid chalky pebbles that will make a mess when they get wet. Wash them yourself if you're unsure. The purpose of this layer is to make an area at the bottom for water to drain into—a surrogate for the trivet that catches water on a pot with holes.

Next, add about a half an inch of charcoal. This layer acts as a filter, absorbing bacteria and mold.

Then, add a layer of moss. Soak the moss in water to make it workable. Squeeze out the water and arrange it over the charcoal. This layer keeps your soil from mixing with the layers below. 

Finally, use fresh, clean soil. The goal is to make as clean a planting as possible. Otherwise you can end up growing a host of unwanted things—a creature feature fit maybe for Halloween. Add your plant. Top up with soil leaving a few inches for the fun part.

Top your plant with a soil cover, pebbles, sea shells, quartz, lava rock, moss, sand, bark, sea glass, mirror glass—whatever strikes your fancy, be creative.* And for a spot of interest, arrange a fun thing or two on top such as an aquarium ornament, or mini sculpture—Arch of Constantine, faux Jeff Koons dog anyone.*

Watering

Take extra care when watering a plant without drainage holes. Only water when and as much as needed. Find out your particular plant's water needs. This rubber tree likes water, but can handle a bit of drying out between waterings. If leaves turn yellow, I know it's getting too much water. It's not a plant that wilts; so if it gets that peaked pale look, I know it's too dry.

Whereas glass can present challenges, a major benefit of the glass container is that you can see what's going on below the soil. I wait until the pebbles look dry before I water my rubber tree. And when I do water, I make sure it gets a good soak, stopping when water starts to appear in the pebble layer.

* As an Amazon Associate, I earn from qualifying purchases.

Saturday 09.15.18
Posted by Lauren Stewart
 

Plumeria Care

Plumeria, frangipani

One of the best things about moving back to California, particularly in having the good fortune to live by the beach, is the opportunity to finally grow plumeria. Depending on where you live, whether it's shelter from too much cold, feeding on a particular schedule, pruning and repotting after a dormant season, or the tricky task of propagation, caring for plumeria can be a part-time job. This is one of those plants that asks you to know your USDA Plant Hardiness Zone and keep a look-out for frost. This guide is as much a test of my own skills as it attempts to be a guide for the average plant enthusiast. I took a cutting from a

Spring

In Spring, about a month after the last frost and when things start to warm up, place your plumeria in your favorite spot. Look for damage, rot at the tips or on the stems should be cut back with clean cutters (sterilizing between cuts to avoid spreading disease to new cuts). If your plant has outgrown its container, spring is a good time to transplant to a larger one or prune the roots and top dress with fresh soil.

2018-03-11 11.27.40.jpg

My one-year-old plumeria cutting, zone 10a, in early March, just before first feeding.

Feeding

Plumeria will bloom if it gets the right amount of sunlight, water, and, most importantly, if its fed. Plumeria prefers relatively low nitrogen (the first number, N) and high phosphorous (the middle number, P) content fertilizer such as JR Peters Blossom Booster* or Miracle Grow's Bloom Booster Flower Food.* Feed according to the label directions every other week or at least once a month during the growing season, approximately April through August depending on your zone. Another element beneficial to plumeria is magnesium. Feeding one teaspoon of Epsom salt per gallon of water when feeding or watering will promotes growth and health.

*As an Amazon Associate I earn from qualifying purchases.

Photo Aug 15, 6 36 37 AM.jpg

August: been battling mites, but we're branching.

Photo Aug 15, 6 36 02 AM.jpg
tags: plumeria, feeding plumeria
Sunday 03.11.18
Posted by Lauren Stewart
 

Water babies

Remember that avocado pit you put in water in kindergarten? Learning this skill was more practical than you thought. Many plants can be propagated by placing cuttings in water. And while they're doing their thing, you can enjoy them by placing them in pretty glass or ceramics and set out in a sunny spot. Keep the water level up and rinse it out when it gets murky.

I like to add garden pebbles to give babies something to rest on. Mosser Lee sells bags of stones in a variety of colors and sizes. I like their White Polished Stones and their River Rock Soil Cover.*

2018-03-03 16.16.14.jpg 2018-03-03 14.22.00.jpg 2018-03-03 14.14.44.jpg 2018-03-03 16.56.30.png 2018-02-10 14.32.20.jpg File Mar 11, 11 52 51 AM.jpeg
2018-02-18 12.14.03.jpg

When roots are well established, plant the cutting in soil.

*As an Amazon Associate I earn from qualifying purchases.

Saturday 03.03.18
Posted by Lauren Stewart
 

Along came a spider, then another, and another.

As a teenager, I did a little babysitting. One family I sat for had a big beautiful spider plant hanging in the living room, bursting with little airplane babies. I stared at it for hours and fell in love with this plant. From my college dorm until a certain orange tabby, about ten years, I had a lovely specimen. Later, having the chance to keep it from harms way, in my current I made a second acquisition. Tabby still plays a role in that he makes sure it gets playtime and doesn't get too long. And in most cases, he decides when it is time to make a baby; i.e. I find his little harvests and put them in water.

2018-02-25 11.47.46.jpg

chlorophytum comosum, the spider plant

You really can't go wrong with a spider plant. It's one of the most forgiving and tolerant plants.

Placed in water, the babies quickly produce roots. Transfer to soil and they grow vigorously. Neglect is not a big problem. If they look a little grey, give them water. If the tips get brown, they're telling you the air is dry and you can just snip the ends to keep them looking nice. Even without feeding, babies will appear, but with feeding lots of babies arrive on shoots, some with branches. And bonus, the shoots have delicate white flowers while the babies are setting.

2018-02-25 11.49.15.jpg
2018-02-25 11.47.46.jpg 2018-02-24 15.22.22.jpg 2018-02-25 11.49.15.jpg 2018-02-24 13.54.27-1.jpg 2018-02-17 14.28.54.jpg
2018-02-25 15.00.23.jpg
Sunday 02.25.18
Posted by Lauren Stewart
 

Pale green

This pale green pot harmonizes with a matching echeveria and textures from sedum morganianum, and crassula marginalis

File Feb 17, 4 04 39 PM.jpeg
Saturday 02.17.18
Posted by Lauren Stewart
 

Welcome

Welcome

No one here but us plant-filled windows and nooks. Nevertheless, our first official business is to welcome you to Pottershed, inspiration that turned into an idea, then a plan, and now a budding business.

Here we will share our plantscaping projects, ideas, and favorite ceramics and planters. If you like what you see, follow us on Instagram at @Pottershed.

Saturday 02.17.18
Posted by Lauren Stewart
 

Powered by Squarespace.